Artificial intelligence is the highlight of this year. It has taken the world by storm in 2023. So far, AI has already made the lives of so many professionals easier. Whether it’s for medical purposes or for content creation, people around the world are looking to leverage AI to streamline their work. You don’t even have to be an artist to create masterpieces in this era. A few carefully written prompts can help you generate share-worthy art. The secret to this advancement is Midjourney. This article discusses how to use Midjourney AI to create art in 2023. Without further ado, let’s get started.
Table of Contents
Sign Up on Discord
One thing that might strike you as different about Midjourney is that it does not work on its own application or website. Instead, it uses Discord to host its services. If you are unfamiliar with Discord, it is a chat or communications app, much like Slack. However, it was designed to help gamers coordinate their tactics in multiplayer games. Apart from that, Discord is now used by creatives, hobbyists, and artists all over the world to showcase their passions. You can imagine why Midjourney chose to use this platform.
Discord is currently available across diverse platforms. Therefore, you can sign up for it using a mobile app, browser, or desktop app. Before you move on to the next step, ensure that your Discord account is verified.
Pick a Midjourney Subscription
Although you can create a free account on Discord, you have to subscribe to a monthly plan for Midjourney. During its launch, users were allowed to generate 25 free images per month. However, lately they have moved to paid subscriptions for all users. Currently, Midjourney offers four different plans that range from $10 to $120 per month. Here are the steps to create your account on Midjourney:
- Head to the Midjourney website.
- Sign in using your Discord account.
- Pick a plan that works for you.
Note: When learning how to use Midjourney AI, it would be best that you pick the basic plan first. It will help you understand if the tool is worth paying the extra money for or not. Also, look out for promotional periods when Midjourney offers users the chance to create 25 images for free. These events usually happen when the platform adds new features to the AI generator.
Join a Discord Server
One thing that surprises people when they are learning how to use Midjourney AI is that it is a bot that you have to interact with on a Discord server. Therefore, once you pick a suitable plan, head back to Discord. On the left, you can view the server list. Click on the ‘+’ icon at the bottom of this list. In the window that opens, click on ‘Join a Server’. Here, you can either type the following link or paste it directly into the bar: http://discord.gg/midjourney. Finally, hit Join to enter the Midjourney server.
These steps can be a bit overwhelming for new users. Once you get acclimated to the UI, it will be a breeze. Still, you can check out Discord’s Guides before you learn how to use Midjourney AI.
Input a Prompt to Generate an Image
As mentioned above, Midjourney uses a Discord server. Essentially, it means that it is a giant community of fellow enthusiasts, which is why the servers can appear crazy to a newcomer. Luckily, they are a good learning ground to figure out which prompts work for other users and which don’t. In the sidebar, you can see different channels, such as #newbies, that you can check out. Also, remember that Midjourney bot will only allow you to generate images in channels that start with #newbies or #general. Therefore, locate them first to start your artistic journey.
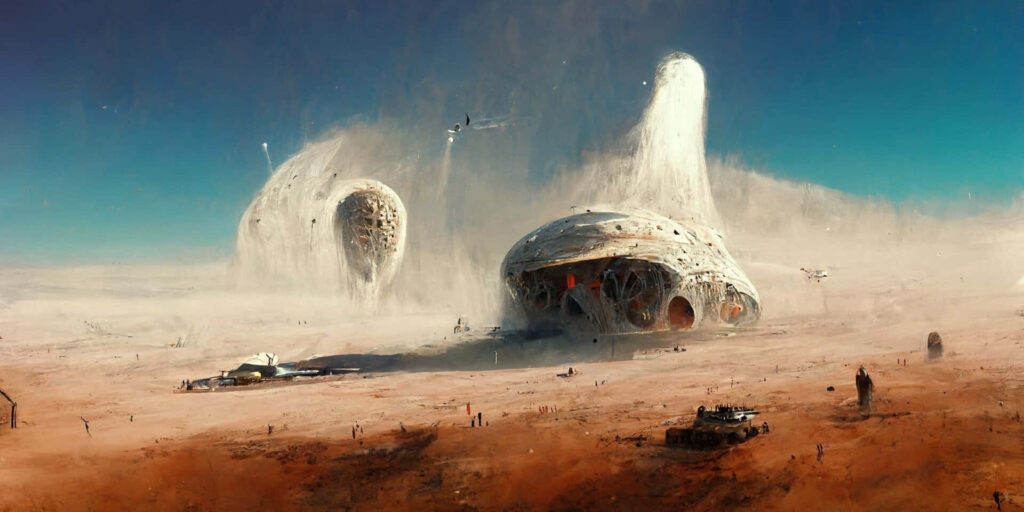
Another important thing to know when learning how to use Midjourney AI is that it works by using commands. For instance, to generate an image, you have to type /imagine in a Discord channel. After you type the command, write a short description of what you want the tool to generate. Hit enter, and let Midjourney do its magic.
Experiment with the Prompts
After you submit your prompt, Midjourney will create a grid of four images for you. However, that is not all it does. It allows you to further enhance each individual image in the grid. For instance, you can press the ‘V’ button under each image to create its variations or press ‘U’ to single out an image from the grid. After picking an image out, you can play with the zoom and pan features to enhance your image.
Now that you know how to use Midjourney AI, the art you create will entirely depend on the input prompt. Try to be as clear as possible when defining the canvas and your subjects. If you are comfortable with the technicalities, you can go a step further and define if you want the tool to use a specific format or type for image generation. For instance, you can specify if you desire an oil painting, a photo taken with a wide-angle lens, or a sketch drawing. However, this is just the tip of the iceberg. Keep experimenting with the tool to figure out how to create masterpieces with it.
Do you prefer Midjourney or another AI tool for content generation? Start a conversation with us in the comments below!
For more similar blogs, visit EvolveDash today!
FAQs
- Can I use Midjourney for free?
No, Midjourney no longer offers a free tier. Initially, users could generate 25 images for free, but now all plans require a paid subscription. However, Midjourney sometimes runs promotions that allow users to create a limited number of free images.
- What are the system requirements for using Midjourney?
Since Midjourney runs on Discord, it doesn’t have strict system requirements. You just need a device that can run Discord, whether it’s a smartphone, tablet, or computer. A stable internet connection is recommended for a smooth experience.
- Can I use Midjourney commercially?
Yes, but it depends on your subscription plan. The Pro and Mega plans allow for commercial use, while lower-tier plans may have restrictions. Always check Midjourney’s terms of service before using AI-generated images for business purposes.
- Does Midjourney support editing an image after it is generated?
Midjourney does not have a built-in editing feature, but it allows users to create variations of an image, upscale it, zoom in or out, and pan around. If you need detailed editing, you will have to use external tools like Photoshop or Canva.
- Are there copyright issues with AI-generated images?
AI-generated images exist in a legal gray area. While you may own the rights to the images you generate, some platforms and jurisdictions may have restrictions on their use. Always review the latest copyright guidelines before using AI-generated content commercially.
